


Flagstone Installation Process
Each flagstone project starts with site preparation. Our technicians remove old paving, grass, and plants and excavate the area to a proper depth, ensuring that the finished flagstone patio or walkway will be properly graded with the surrounding yard.
Then, for the dry-laid option, we fill the base with gravel or crushed limestone to create a solid foundation, adding a layer of sand on top. Once the base is ready, we lay the stones, firmly tapping each piece into place with a rubber hammer.
Another option is a concrete base. Concrete base is poured and leveled after the excavation is completed. After that the flagstone is installed on mortar and the joints are finished.
Next, our technicians get down to filling the joints between the flagstones. We use sand, mortar, or a mixture of both, depending on your choice. While sand is renowned for its excellent drainage properties, mortar provides a more durable surface.
You can also choose to apply sealer to your flagstone walkway or patio. This protects the stones and the joint material from the elements, helping maintain the beautiful color of natural stone.
In addition to flagstone installation, we provide landscape design services and can add landscaping around your flagstone walkway or patio. Plants, shrubs, or gravel can substantially enhance your outdoor space. Get in touch with us to get a free estimate and discuss your project details.
Flagstone Types
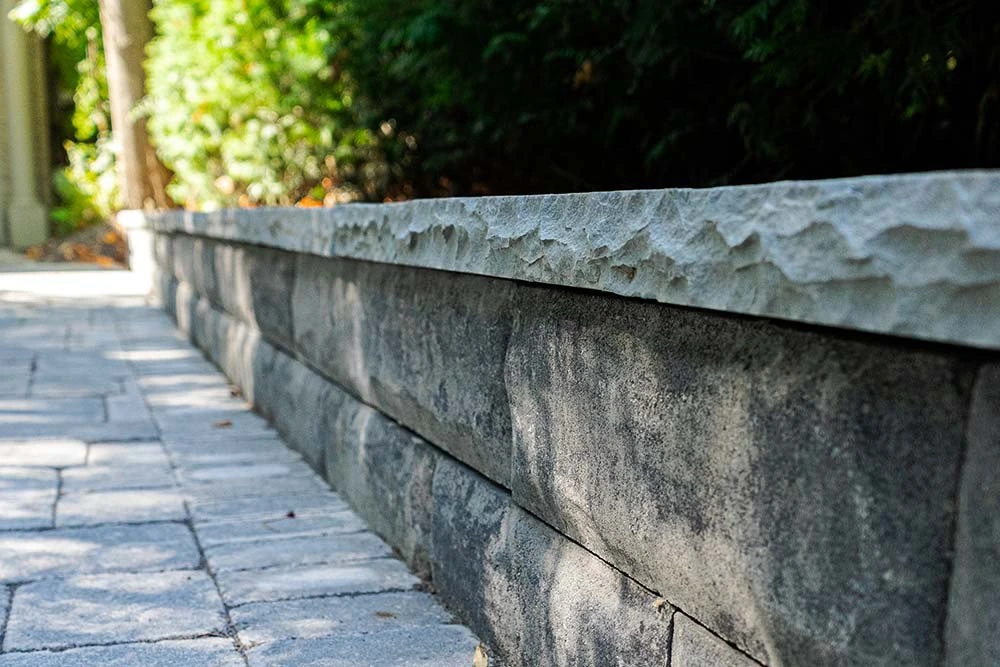
Natural stone comes in various types, including slate, sandstone, basalt, limestone, quartzite, travertine, and bluestone, among the most popular options. Speaking of the shape, there are two types: random flagstone and square cut flagstone.

Flagstone Walkway
A flagstone walkway is a beautiful addition to any property, immediately enhancing the curb appeal. You might want to install a random flagstone walkway if you’re looking to inject some rustic charm into your outdoor space or go the square cut route for a sleek, modern look.
No matter your preferences, the team at GTA Sunrise is always readily available to help you with your flagstone project. We have years of experience delivering a wide range of flagstone services in Toronto and the GTA, including flagstone walkway installation. We’ve installed numerous flagstone walkways, leaving all our customers happy and satisfied.
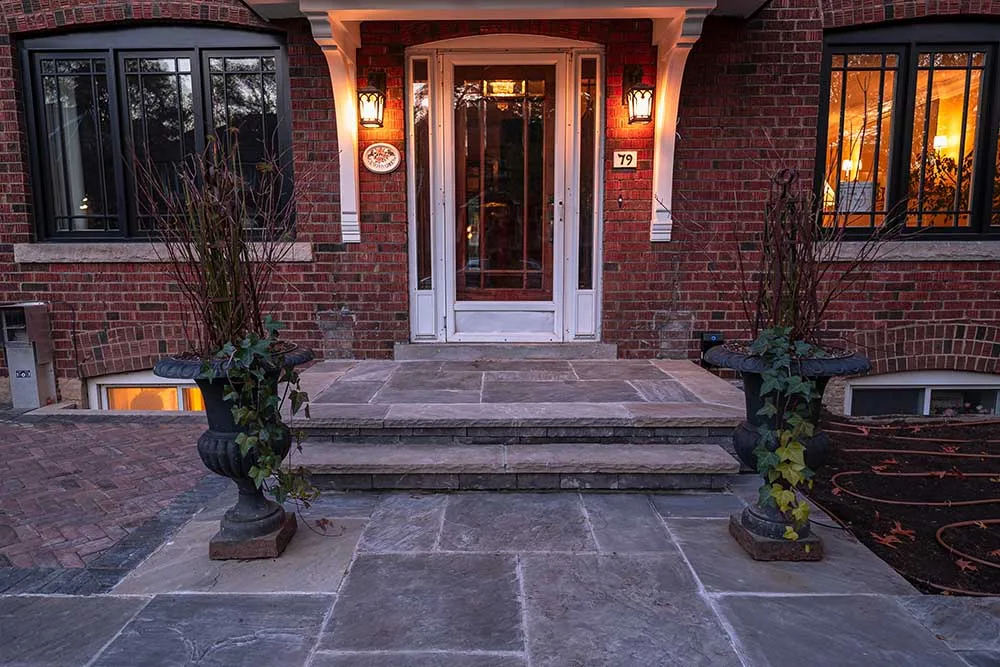
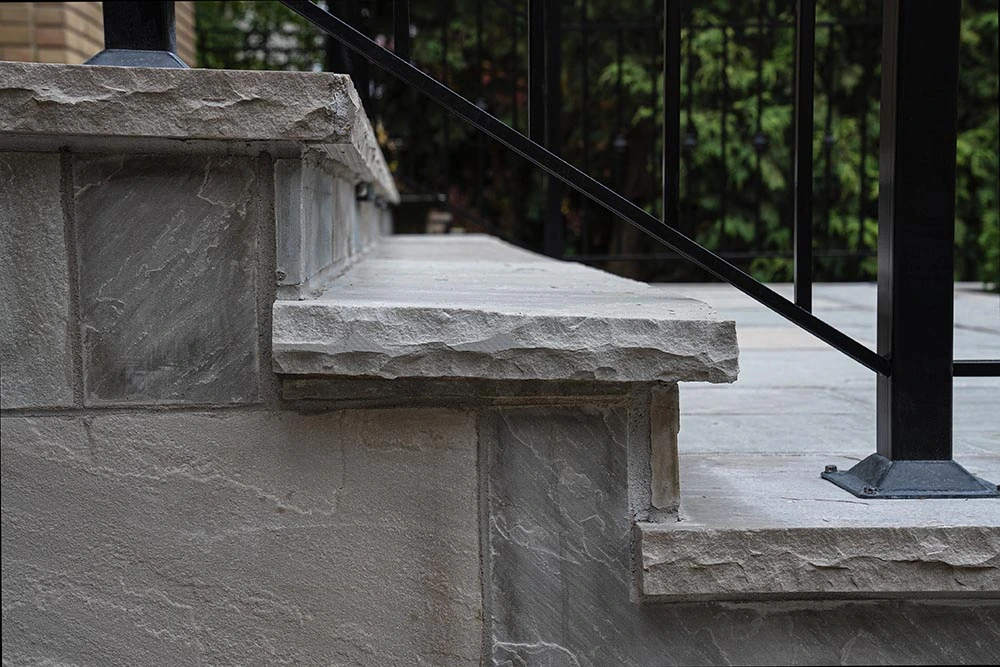
Flagstone Patio and Porch Installation
When it comes to creating an elegant and functional outdoor living area, a flagstone patio is one of the most popular choices with homeowners in Toronto. Fair enough, a flagstone patio is a timeless option that looks beautiful and seamlessly fits into various landscape designs, improving the curb appeal.
The team at GTA Sunrise has extensive experience with flagstone installation. We can build a durable and visually appealing flagstone patio or front porch for you and your family to enjoy dining and socializing outdoors in the warmer months.
Flagstone Repair
Our flagstone services also include flagstone repair. Skilled technicians at GTA Sunrise have extensive experience delivering flagstone installation services and can repair virtually everything made of natural stone, including flagstone patios, walkways, porches, and retaining walls.
Over time, natural stone pieces can get loose, chipped, or cracked, making your flagstone patio or flagstone walkway less appealing and unsafe to walk on. Stone work specialists at GTA Sunrise can repair square cut and random flagstone surfaces to restore the appeal of your front yard.
Pros and Cons of Flagstone
In addition to looking beautiful, natural stone offers other benefits, too. First, flagstones are highly durable and long-lasting — with proper maintenance, they can stay intact for centuries. A flagstone walkway or patio can withstand extreme temperatures without giving signs of wear and tear.
Moreover, a natural stone surface is relatively easy to maintain — occasional sweeping and spraying a flagstone patio or walkway usually suffices, while sand deposits, stains or mold can be effortlessly removed with water.
On the downside, you should expect your flagstone patio or walkway to get hot in the heat and cold in subzero temperatures.
Expert Flagstone Contractors in Toronto & GTA
Certified technicians at GTA Sunrise provide professional flagstone installation in Toronto and the Greater Toronto Area. Whether you’re looking to build a flagstone walkway, patio, or porch, you can rely on our stone work specialists to complete the work on time and hassle-free.
We have completed multiple flagstone projects in Toronto and surrounding areas, and have experience with square cut and random flagstone of different shapes.
As trusted flagstone contractors, we strive to meet and exceed our customers’ expectations, making them happy and satisfied. If you need stone work professionals to assist you in your landscaping project, contact us today. We’ll provide you with a free estimate and answer all your questions concerning flagstone installation.
Our GTA Sunrise Services
Why choose GTA Sunrise?

Trust
Through quality workmanship, insurance, and warranties, we do our best to be a highly recommended landscaping company you can trust.

Experience
Our team of designers and builders, who are dedicated specialists with extensive knowledge and background in the landscape construction industry.

Reputation
Being a Unilock Authorized Contractor, our commitment to excellence and good reputation with our clients means a lot to us.

Professionalism
With experience in residential and commercial construction, we have gained the necessary skills to become true professionals.

Quality
The high quality of completed projects and customer satisfaction are the key priorities in business for our landscape construction company.

Support
We are always here for you to answer all your questions and offer you excellent customer support service.
We’re Licensed & Insured Contractor in Toronto and the GTA


Testimonials
Areas We Serve
- Mississauga
- Richmond Hill
- Markham
- Brampton
- Oakville
- Newmarket
- Vaughan
- Etobicoke
- Whitby
- Aurora
- Woodbridge
- Maple
- Pickering
- Toronto
- Thornhill
- North York
- Scarborough
- King City
- Uxbridge
- Whitchurch-Stouffville
How Does It Work

1. Get a Free Quote
Complete a form to get a free estimate for interlocking services.

2. Initial Consultation and Site Visit
We discuss details to ensure accurate measurements and avoid "surprises” during project construction.

3. Design & Material Selection
We focus on your needs and use only high-quality materials.

4. Project implementation
Our project manager and installation team will make sure your project is completed to your satisfaction.